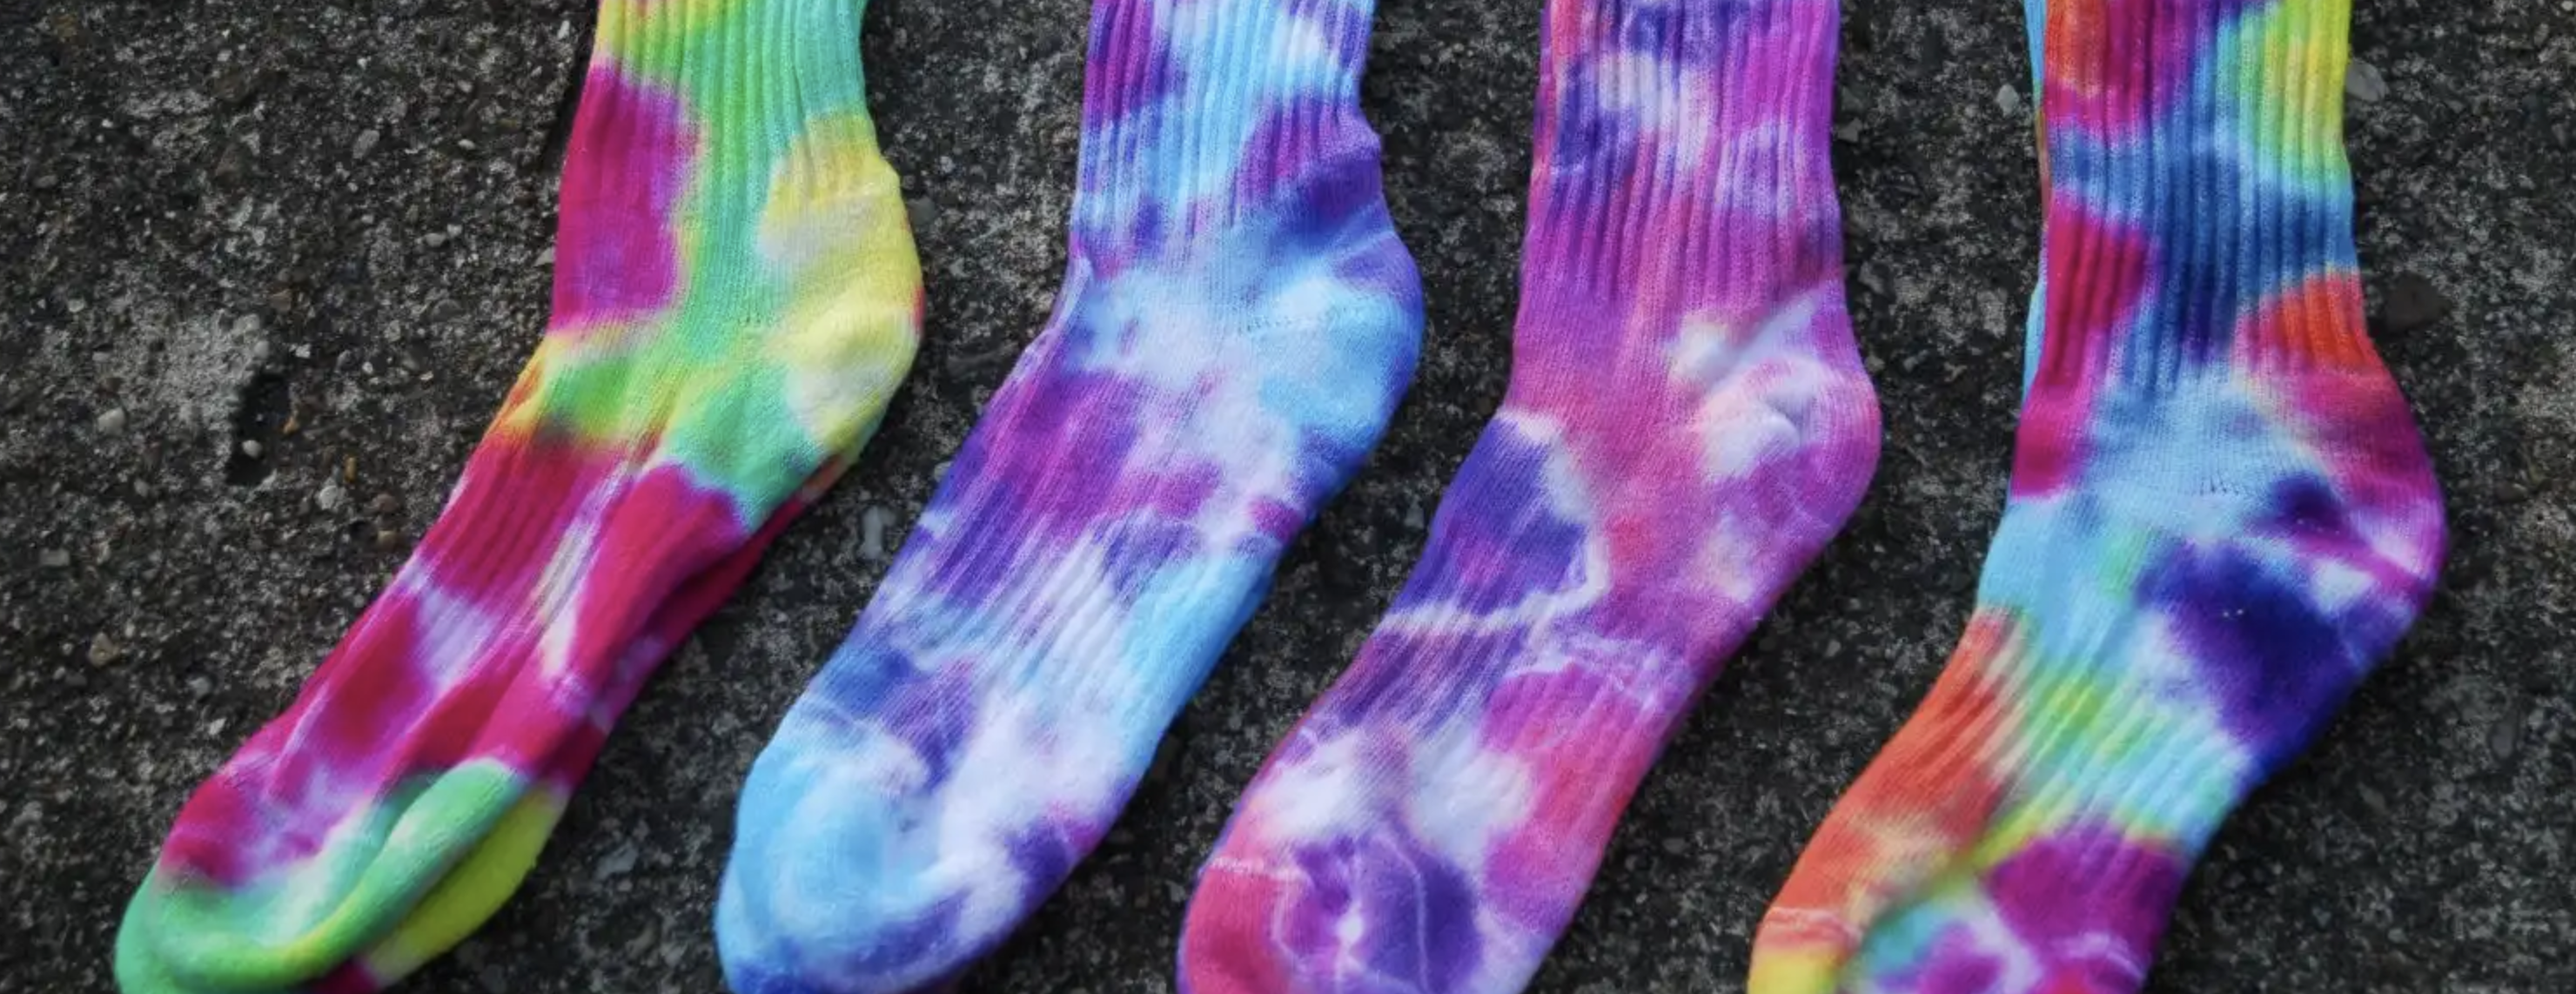
If you want to learn how to tie dye socks, you came to the right place! Whether you are doing it for your own use, or an upcoming event, tie-dying socks is actually super easy.
They’re also a fun way to add more sparkle and customization to your branding or promotional gear!
We’ll teach you how to tie-dye your own socks in 7 easy steps. But first, let’s cover what kind of socks you should tie-dye for best results.
What kind of socks can you tie-dye?
Tie dying your socks starts with getting the right socks first, obviously. Not every type will work well, and it comes down to getting the right material. This may sound like common sense to some, but make sure the socks you choose are white and try to stay away from ankle socks.
Also, stick with socks that are at least 75% cotton, as they will accept the dye the best. If you try and use something like polyester, you’ll get dismal results, with your final product looking faded.
Supplies needed to tie dye socks
A high quality tie-dye job starts with high quality materials. We already discussed which type of socks you can tie dye, so you should be covered there.
However, the colors you use also play a huge role. Here is a full list of materials you need to get started tie dying your first pair of socks from home.
- White cotton socks
- Rainbow tie dye squirt bottles
- Rubber bands
- Gloves
- Bowl or container of water
- Something to work on, such as a tulip cover or plastic sheet
- A plastic tote or additional bowl to hold your socks while you work on the others
If you don’t feel like grabbing all these supplies, there are all kinds of tie-dye kits which include just about everything you need to get started.
How to tie dye socks from home – Step by step guide
Now, without further ado, let’s teach you how to tie dye socks. It is as simple as 7 steps, and is much easier than you may think!
Step 1) Get the socks wet
To make the dye hold better, start by soaking your socks. You can simply fill a bowl with water, dunk your socks in, and wring them out over the bowl.
You can throw the wet socks in your plastic tote for now, and continue dunking your socks until you have them all ready to go.
Step 2) Fold and rubber band your socks
The hardest part about how to tie dye socks is folding them to prepare for dying. If your browse around pinterest or google, you’ll see all the different ways people are folding, rolling, and twirling their socks to tie-dye them, but you can make this simple.
Just grab a pair, roll them up together, and rubber band them in a way that looks like a cylinder, or a pie. This will be the easiest way to adequately cover the socks in tie-dye.
Step 3) Prepare your dyes
Once you have your socks prepared for tie-dying, you need to get your dyes ready. They will likely need to be diluted.
This will depend on your specific brand of tie-dye, but most are around 2 TSP/ cup of water. To make the dye take to your socks even better, you can add 1 TBSP of salt to your mixture.
Most people use a rainbow collection of dyes – including purple, blue, green, yellow, and red. You can get as crazy as you want, or use any color combination you want, but this is the standard combination.
Once you have diluted all your dyes and mixed each one thoroughly, fill up individual squirt bottles. Shake up all your dyes, and then it is time for the fun part – the actual dying process.
Step 4) Dye the socks
Now is the moment you’ve been waiting for – actually dying your socks! Lay down your cover, and get started.
Start with one color at a time, and start dying the individual pie slices of your sock rolls. Do one color at a time, and be sure to insert the tip of your bottle into any crevices in your roll to make sure everything gets covered in dye. Otherwise, you will end up with white blotches in your socks, which is the indication of an amateur tie-dye job!
Step 5) Let the soaks sit (12 hours)
After you soak your socks in tie-dye, you can leave them aside overnight to let the fibers soak up all the coloring.
Come back 12 hours later, and the socks will likely have dried. At that point, you are ready to start the washing and drying process.
Step 6) Wash the tie-dyed socks
You should then remove the rubber bands from your socks, and take them to a garden hose or sink.
You should rinse them really well until the water runs through clear, or simply throw them in the washing machine.
Start with a simple cold rinse cycle (no detergent) to rinse the excess dye really well. Then, throw in some detergent and give them a proper wash cycle.
Step 7) Dry your socks
Use the hottest cycle your drying machine has to dry your socks after their wash cycle. At this point, your work is done!
Final thoughts on how to tie dye socks
Now that you know how to tie-dye socks, you can go grab your supplies and get started!
We wanted to finish up with some general tie-dying recommendations. While whatever cover you are using for your workstation will absorb most of your messes, you should still be really careful.
We even recommend doing this outside in the backyard if possible, or on tile floor with cleaning supplies nearby in case of any mishaps.
Make sure you aren’t wearing any clothes you don’t want to tie-dye during the process, and wear an apron and gloves.